
Uncategorized
How to Make an Herb Grinder: The Complete Guide
Making a wooden herb grinder is a fun and easy project that anyone can do. With a few simple tools and some basic woodworking skills, you can make a functional and attractive grinder that will last for years.
A herb grinder is a great way to reduce the size of herbs so that they can be more easily used in cooking or for other purposes. A grinder will also allow you to create a uniform texture for your herbs, which can make them more consistent in flavor.
If you are interested in learning how to make a wooden herb grinder, read on for step-by-step instructions!
Do you need a wooden grinder for herbs?

If you want to make your own herbal remedies, then you will probably need a wooden grinder for herbs.
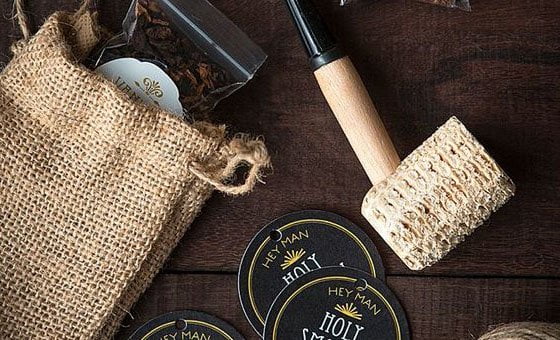
If you have ever tried to make your own herbal remedies, then you know that it is sometimes hard to find the right ingredients. This can be especially true when you are trying to find fresh herbs, In order to make your own herbal remedies, you will need to find a way to grind up your herbs so that they can smoke herbs better. so One of the best ways to do this is with a wooden grinder for herbs.
Sale!
Original price was: $33.90.$29.90Current price is: $29.90.
$5.90 – $24.90

$2.99 – $27.90
Sale!
Original price was: $99.00.$79.00Current price is: $79.00.
Benefits of a Wooden Herb Grinder
There are many benefits associated with using a wooden grinder for herbs instead of another type of grinder or milling device. For example, these devices are usually made from quality wood that will last for years without any problems whatever. when compared with other types of grinding devices that may be available on the market today.
Besides that another reason why people choose wooden grinders over other types of grinders is because they tend to be safer than some other types of devices available today. This is because they do not contain any sharp edges or blades that could cut someone if they were not careful while using them.
And The main advantage of wooden grinders over plastic ones is their longevity. If you’re looking for something that will last for years and years, then these are your best bet!
The most important thing is that Wooden grinders also offer an aesthetic appeal that most people find attractive. They have a natural look to them that makes them great conversation pieces and can serve as decor pieces in your home too! Then we can prepare to make our own Favorite Wooden grinders
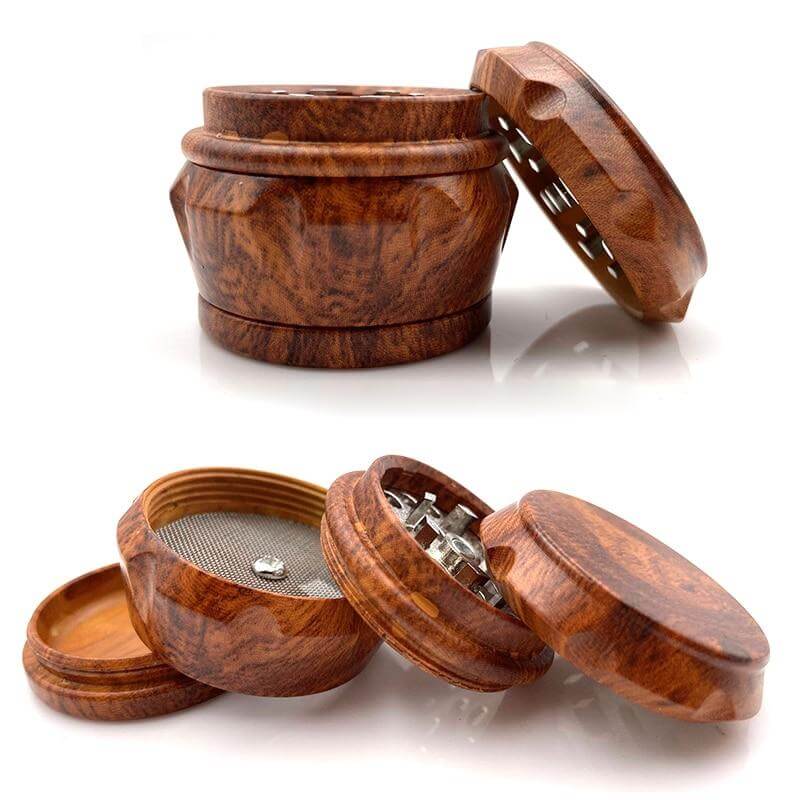
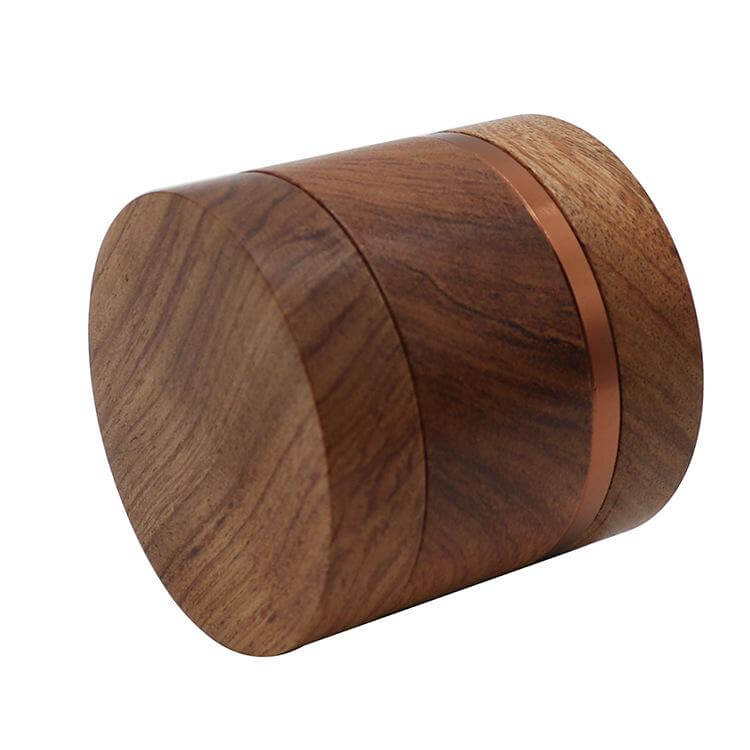
how to make a wooden herb grinder
1. Choose the wood for making wooden herb grinder
The types of wood that work best for herb grinders
Although There are many different types of wood that can be used to make an herb grinder. But I prefer black walnut for herb grinder
Black Walnut is a dense, hard wood ,It has a nice reddish color with dark streaks in it that make it stand out from other woods. This type of wood also tends to be very hard and dense which makes it ideal for grinding herbs or spices .and he has many advantages
Here are some advantages of black walnut for herb grinders:
It’s durable: The hardwood from black walnut trees makes a strong grinder that won’t crack or chip when you put pressure on it. You can use your grinder every day without worrying about it breaking or wearing out prematurely.
It’s smooth: The natural oils in the wood give this type of grinder a smooth finish that makes it easy to handle and use every day. You don’t need special tools or techniques to keep your grinder looking good or working well — just use it regularly and clean it with warm water when necessary.
It’s affordable: Black walnut is affordable compared to other types of wood that manufacturers could use for their grinders. As a result, you can get a high-quality product at an affordable price when you choose this material, here we choose high-quality walnut to make our wooden grinder
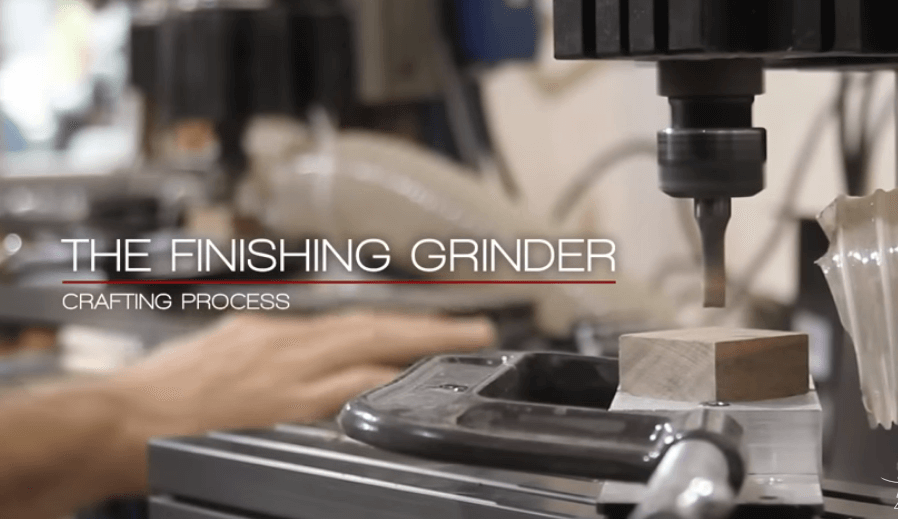
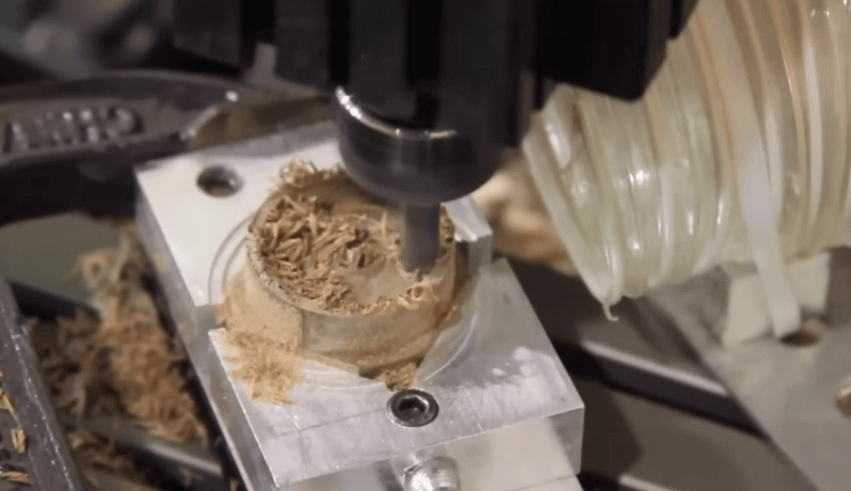
Make the main part of the smoke grinder
Next you need to cut the selected black walnut into 1-inch pieces, and then use some coarse sandpaper. For sanding, The more you sand the wood, the smoother it will be. The following instructions will show you how to make an herbal grinder at home with just two tools: a drill and a pocket knife.
Step 1 – Measure and Cut
Measure the length of your hand and multiply by three for the width, which will give you the size of your wooden herb grinder. Use this measurement to cut out two identical rectangles from one piece of wood (if you want something smaller than this, cut three times as long as wide).
Step 2 – Sanding
If you wish, sand down the sides of your wooden herb grinder with coarse sandpaper until smooth (you may want to cover them with masking tape first). If you don’t want to spend time on this step, simply use an electric sander instead of your hands or pocket knife. After the main body of the wooden grinder is finished, we need to make the Top Cap
Make the Top Cap
Step 1: Make the Top Cap
The top cap is the circular piece that holds everything together. It should have a diameter of about 1/2 inch and be no more than 3/4 inch thick. Use your compass to draw a circle on your wood, then cut it out with a bandsaw or jigsaw.
Step 2: Attach the Top Cap
The cap needs a hole in its center to allow you to screw in the handle later on. To make this hole, drill straight down through the center of your top cap using a 3/8-inch bit. This will leave a hole just large enough for your screwdriver tip to fit through when you’re done.
Step 3: Make the Handle
The handle is simply another piece of wood with a hole drilled through it in which to fit your crank shaft. The easiest way to do this is by drilling two holes at 90 degree angles from one another, then gluing them together with epoxy or super glue — but if you’re feeling adventurous, you could also try making it from jus
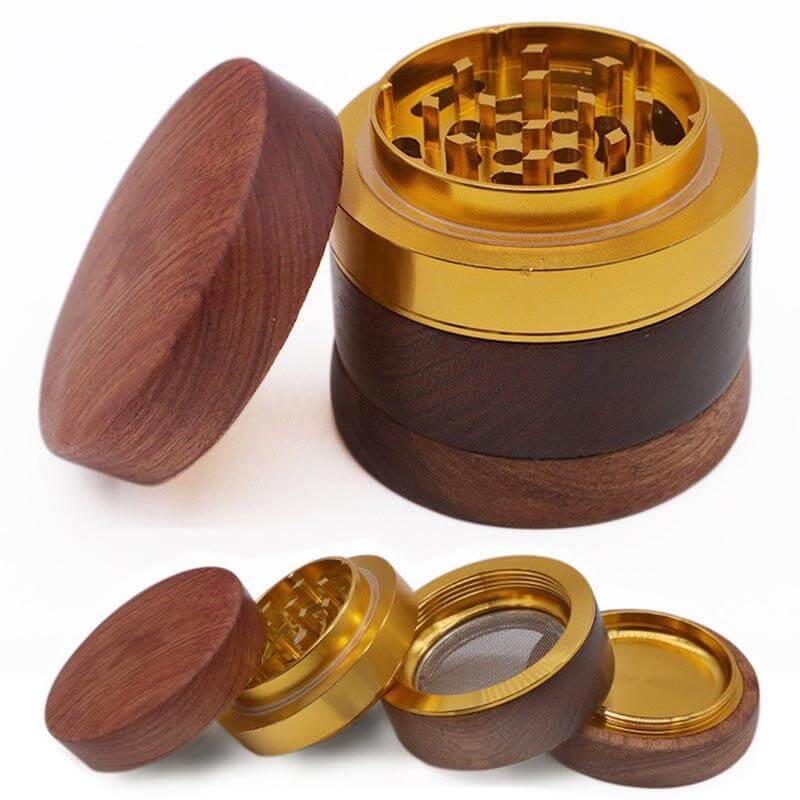
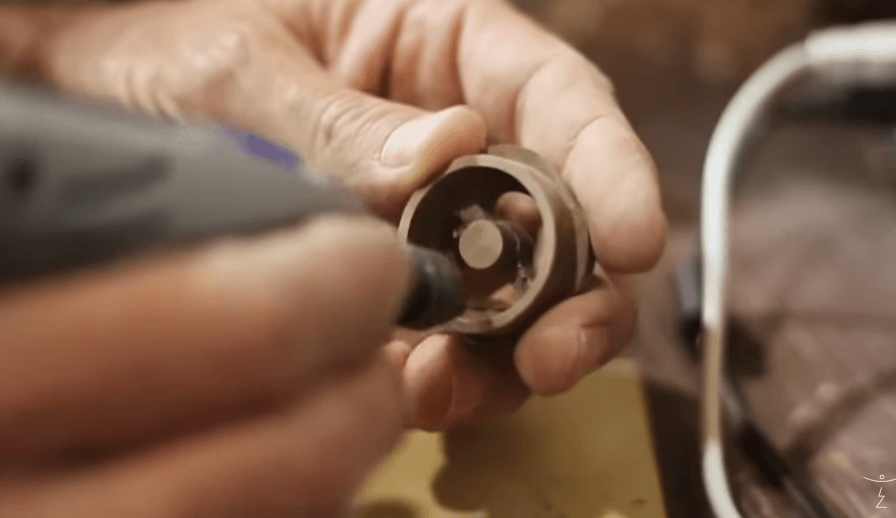
Assembling the Grinder
The next part of assembling your weed grinder is adding the grinding teeth. You can buy these separately or buy an already assembled grinder with them already installed. Once you have these teeth in place, add a small amount of lubricant on each one so that they will go into place when you’re ready to assemble your grinder.
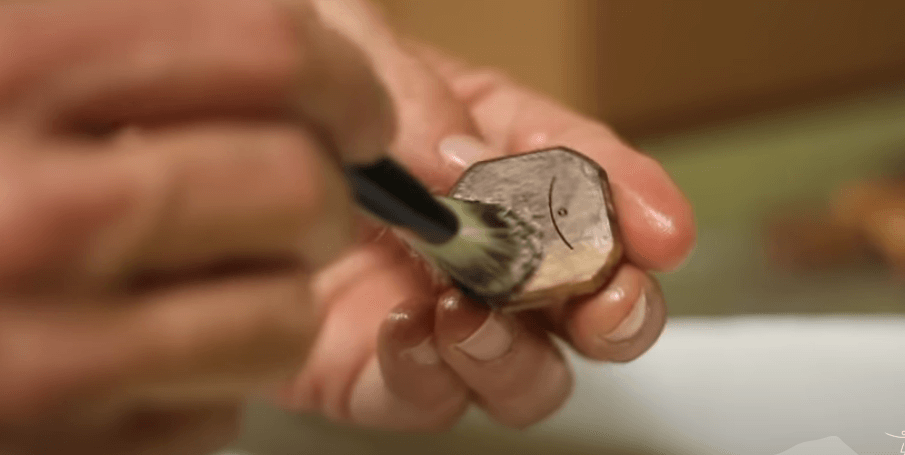
The last step is glue the pieces together using wood glue and allow them to dry completely before continuing on with painting or staining them according to your preference.
For this project I chose to stain my herb grinder with General Finishes Java Gel Stain and then seal it with General Finishes High Performance Top Coat in Satin finish for protection against water damage over time as well as preventing splintering when using sharp tools like scissors on its surface. After the production is completed, you can use your wooden herb grinders to grind your own herbs perfectly, but you may worry that the herb grinders you made may be damaged frequently, so how do we use and maintain herb grinders correctly? , let him use it for a longer time
How to use your wooden herb grinder:
To use your wooden herb grinder, follow these steps:
1. Fill the grinding chamber with your herbs. You can do this by hand or by using a funnel. We recommend filling it about half way and then shaking it to level out the herbs evenly in the chamber. You can use fresh or dried herbs here; it just depends on what you’re looking for in terms of effects and taste. You’ll want to grind them down until they’re nice and fine so that they can be easily packed into pipes or joints later on down the line when it comes time to smoke them up! (hint)
2. Screw on the lid and place the wooden herb grinder on a flat surface such as a table or countertop. Make sure there is enough space around it so that you don’t accidentally knock it off while it’s grinding!
3. Press down on one end of the handle while holding onto the other end with your other hand (or vice versa). This will cause the blades inside to rotate and grind up your herbs! , don’t be too rough, it will be very easy to damage the herb grinder you just made) You can click on the tips for using a weed grinder to learn more tips
Besides using your diy herb grinder for normal daily operation, in order for your black walnut wooden grinder to remain in top shape, you need to clean and maintain it on a regular basis. This below will share some tips and tricks on how to do so!
How To Clean And Maintain A Wooden Herb Grinder
The best way to clean a wooden herb grinder is to first remove the metal piece that holds the teeth. You can do this by gently pulling on it. Once it has been removed, place it in a bowl of hot water and let it soak for a few minutes. Then remove it from the bowl and scrub off any residue with a toothbrush or small kitchen brush. Next, rinse under running water until all soap scum is gone, then dry completely with a clean towel before reassembling your grinder.
Next Soak the grinder in warm soapy water for a few minutes to remove any residue left by the herbs. Rinse well and then wipe dry with a clean cloth or paper towel. Do not use harsh detergents or abrasive cleaners on your grinder as they may damage the wood and change its appearance. If there is any residue left after soaking and rinsing, soak again until it comes out cleanly when you try to rinse it off.
Once your grinder has been cleaned, let it dry completely before storing in its box or pouch. Wooden grinders should be stored in their pouches when not in use so that they do not get damaged by foreign objects such as coins or atch keys which could scr the wood surface while being carried around in a pocket or purse,
Believe that if you follow the above guide, your diy herb grinder will accompany you for a very long time, if you are very interested in our article on how to make a wooden herb grinder, please share it with your friends